
01 · Project overview
Coordinating comfort across two HVAC systems
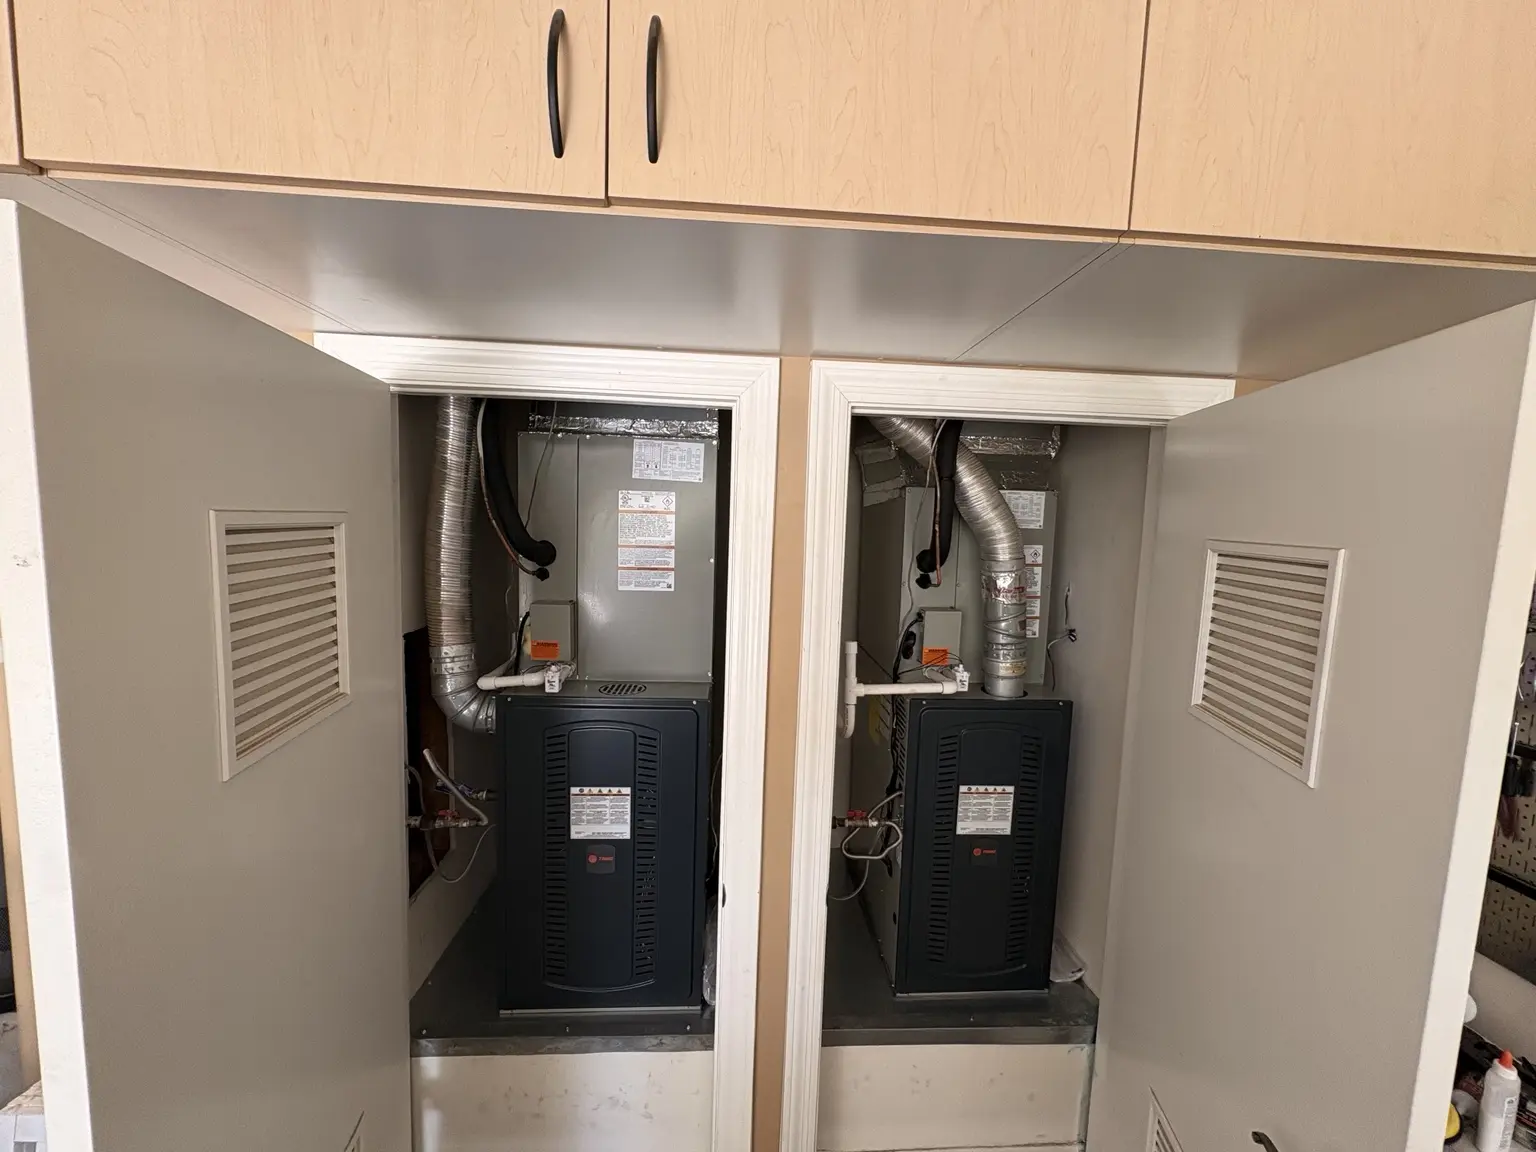
This project includes two Trane indoor furnace-and-coil systems installed in adjacent equipment closets, along with outdoor Trane condensers. A two-system home requires each system to be installed, connected, started, and checked as its own complete comfort system.
The exact capacities and efficiency ratings are determined from the equipment model numbers and project design; they are not assumed from photographs alone.
02 · Indoor equipment
Furnaces, indoor coils, airflow, and drainage
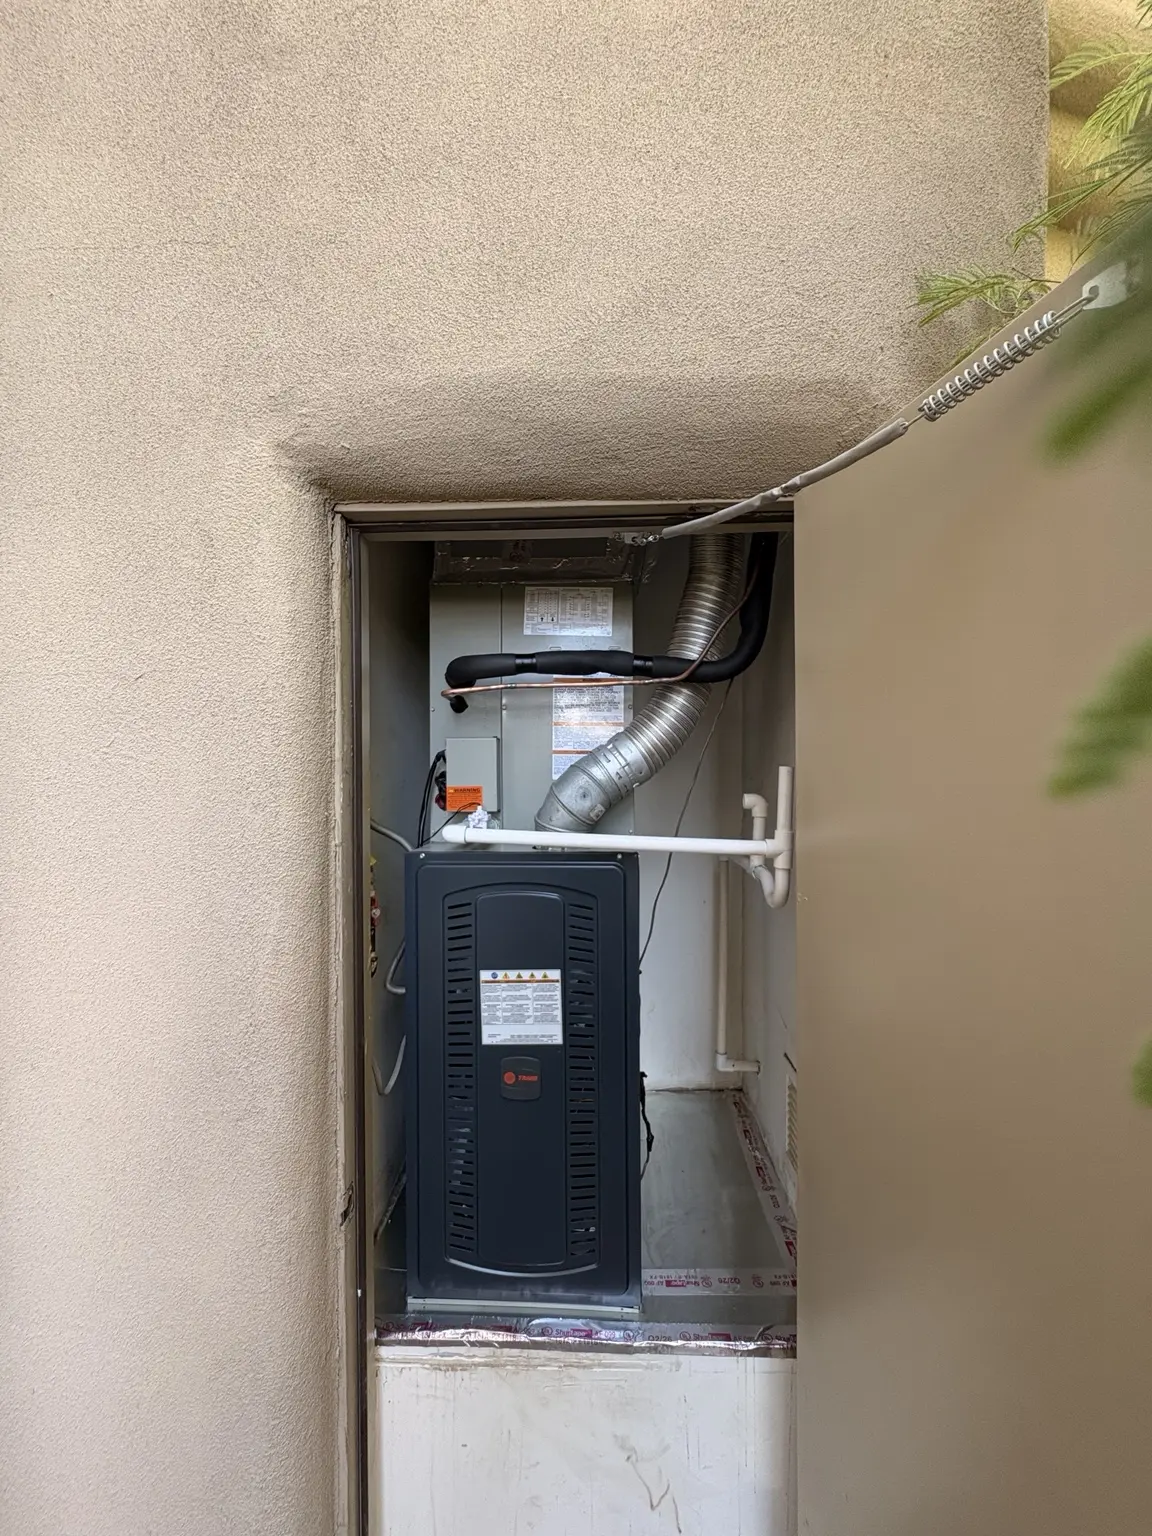
The indoor photos show the two Trane furnace cabinets with matching indoor coil sections above them. Refrigerant piping, condensate drainage, duct connections, and equipment access all have to work together—not simply fit inside the closet.
Because the systems are located in compact equipment spaces, clean routing and future service access are especially important.
03 · Outdoor equipment
Condenser placement and serviceability
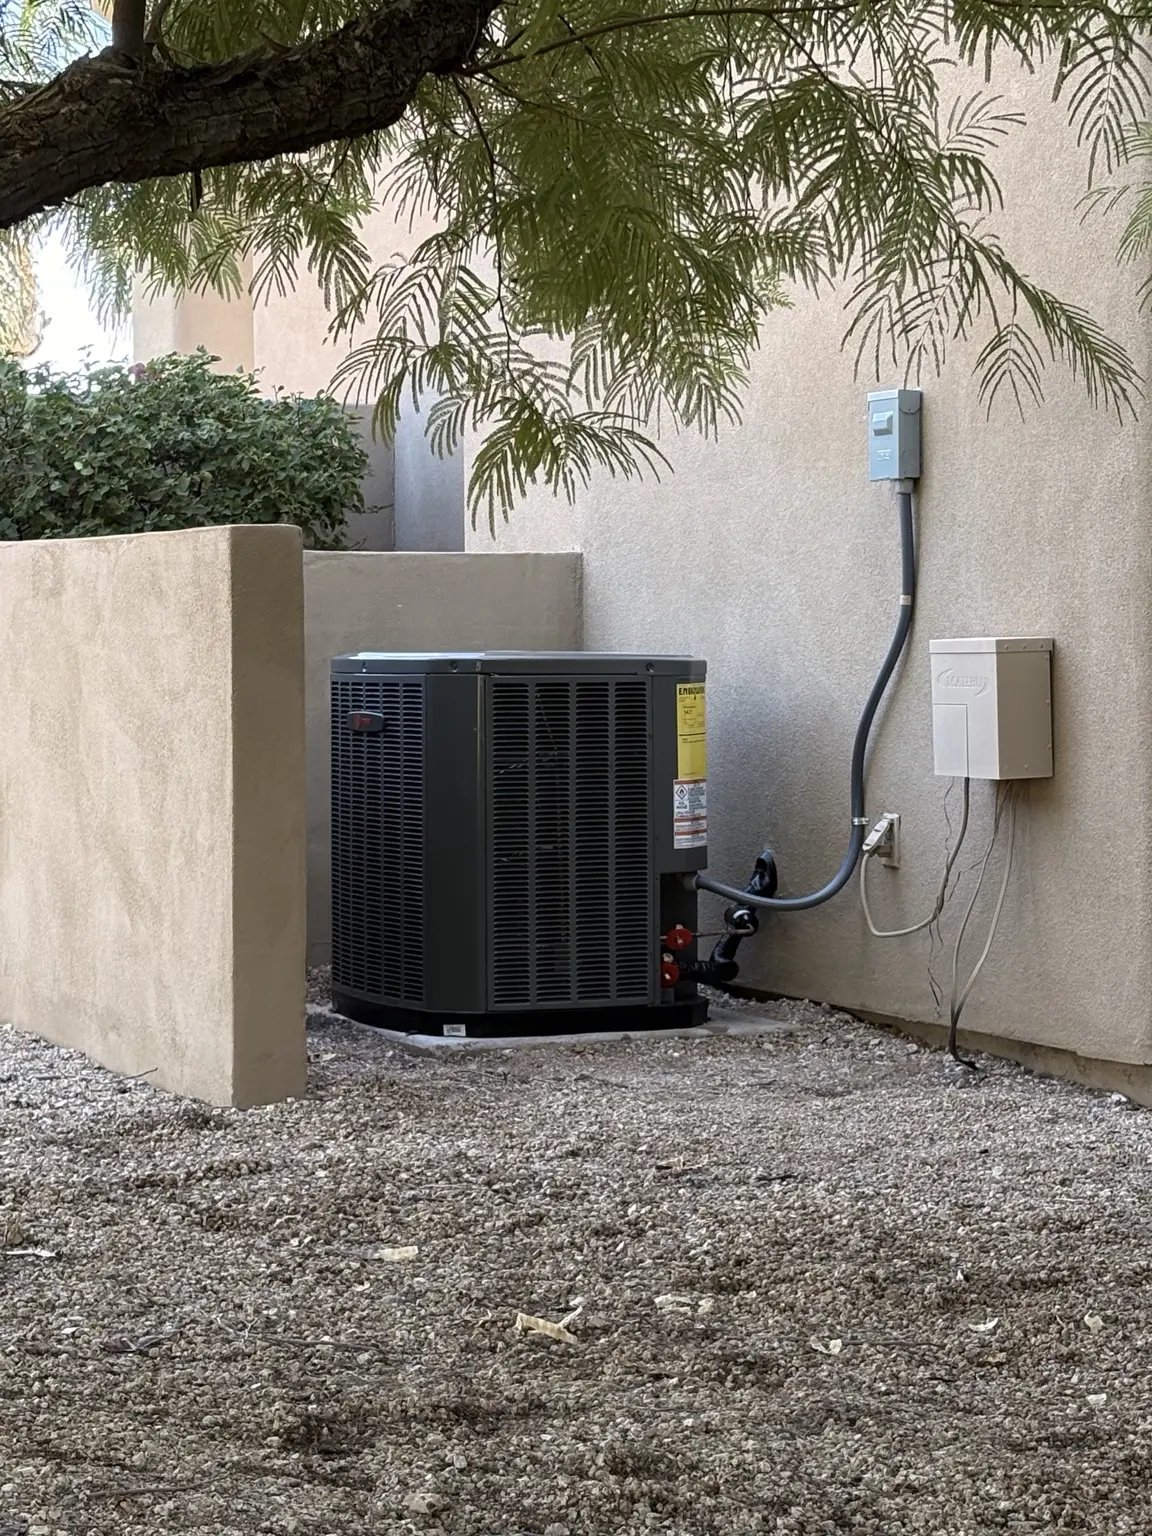
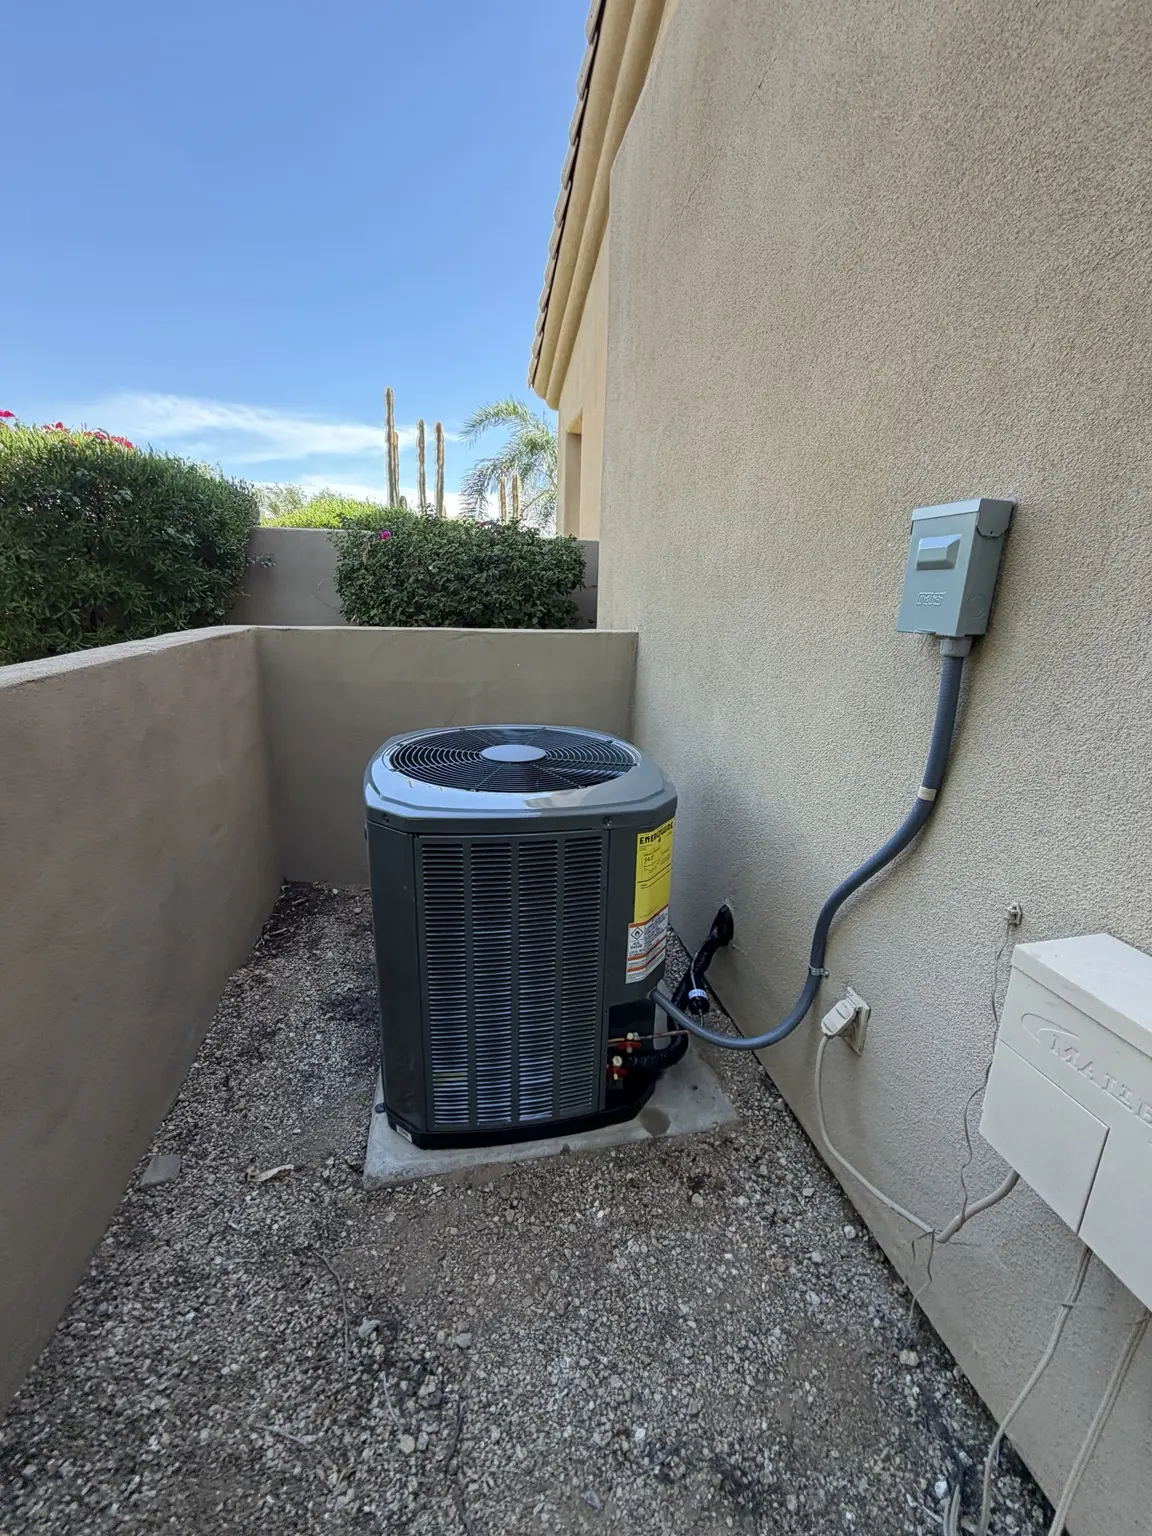
The outdoor photos show the Trane condensers installed in residential side-yard equipment areas. The electrical disconnects, refrigerant connections, equipment pads, and available service space remain visible for inspection and future maintenance.
Clearance must be evaluated against the specific manufacturer’s requirements and the conditions around each unit so airflow and service access are not unnecessarily restricted.
04 · Installation details
A complete installation is more than setting equipment
- Confirm each indoor and outdoor equipment match
- Connect and protect refrigerant piping
- Provide proper primary condensate drainage and safety protection
- Complete electrical, disconnect, control, and thermostat connections
- Evaluate airflow and duct connections for each system
- Maintain practical access for filters, service, and maintenance
We treat each system as a complete installation and review the equipment, airflow, drainage, electrical, controls, and operation before the project is considered finished.
05 · Startup and verification
Each system must be checked independently
After installation, each HVAC system should be started and evaluated separately. Appropriate checks depend on the equipment and conditions, but may include thermostat operation, airflow, temperature performance, refrigerant-circuit operation, drainage, electrical operation, and communication of the final settings to the homeowner.
Liquid HVAC installs and services residential heating and cooling systems across Mesa and communities throughout the Phoenix Valley.